 Welcome. Sorry, this is my old website. Please click here for the shiny new one. I paint Scottish landscapes in oils and sell originals and prints. This is fresh off the easel, the harbour at Diabaig, a tiny village on the west coast. It’s 45cm by 35cm and was painted on the beach (until the midges found me) and then finished in our porch (with a glass of something). This original is for sale so please send me an email mike@michaeljdixon.co.uk if you are interested.
Please scroll down for a selection of my work, including the photographs I work from, or click the tab for more Scottish landscapes, including a view from the hidden loch behind Beinn Eighe.
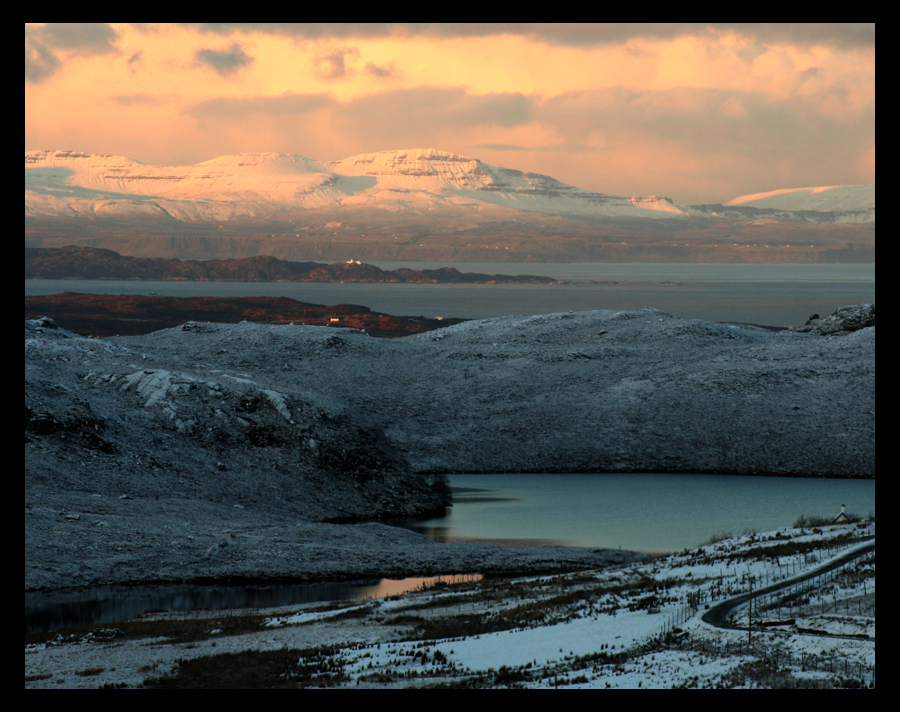
Shot with a very long lens, this view is from the far end of the top loch. Pinprick clear on this winter’s day, with even the houses on Skye visible. I often use this shot as a colour reference.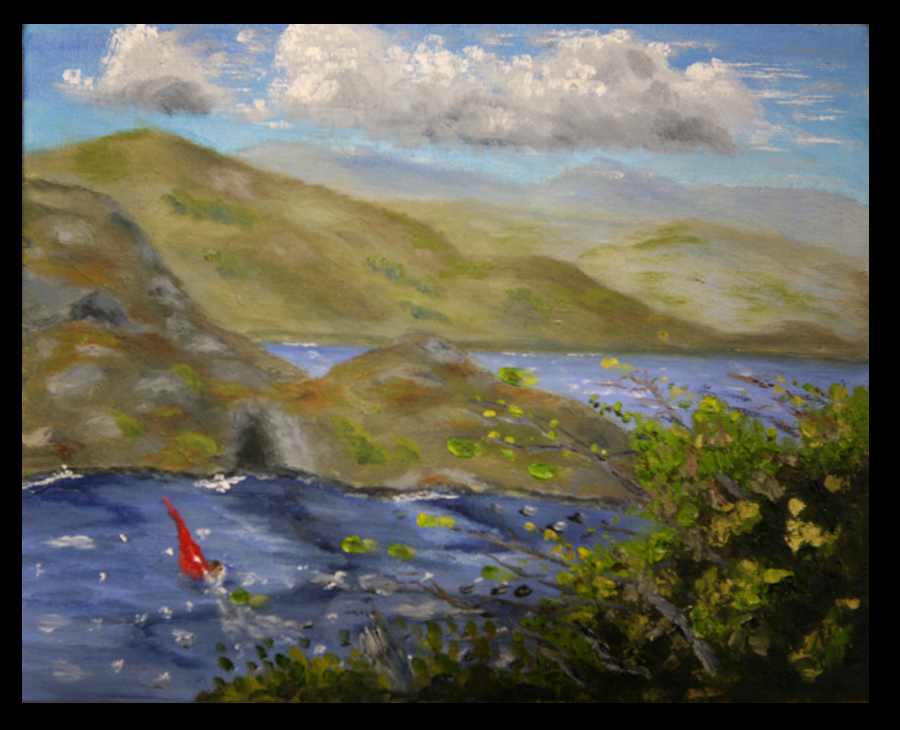
8″ by 10″, oil on board, and painted from our porch on a “bracing” sort of day. I added the boat later but the leaves (and small branches) rushing across the picture are pretty much accurate.
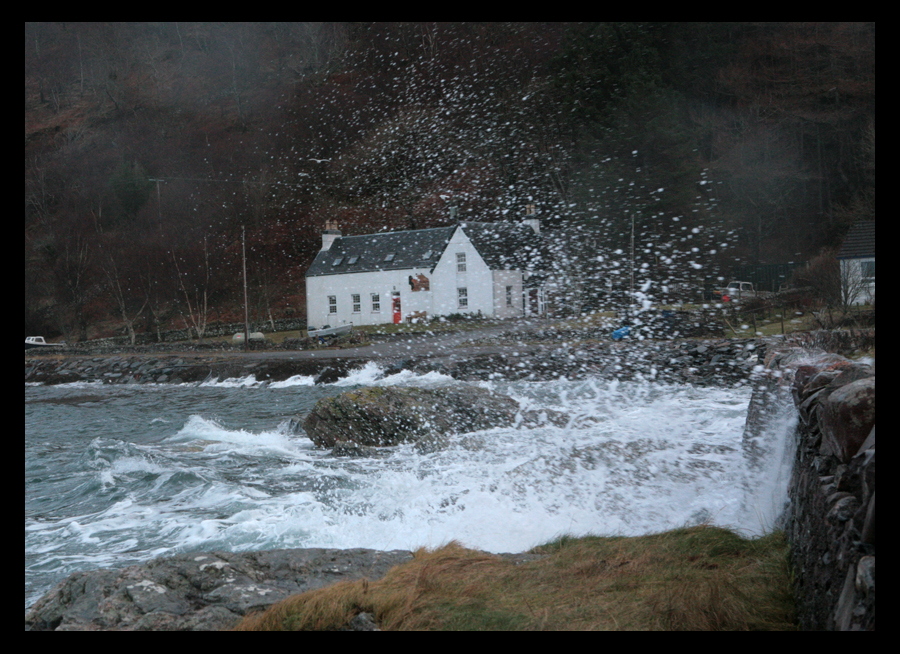
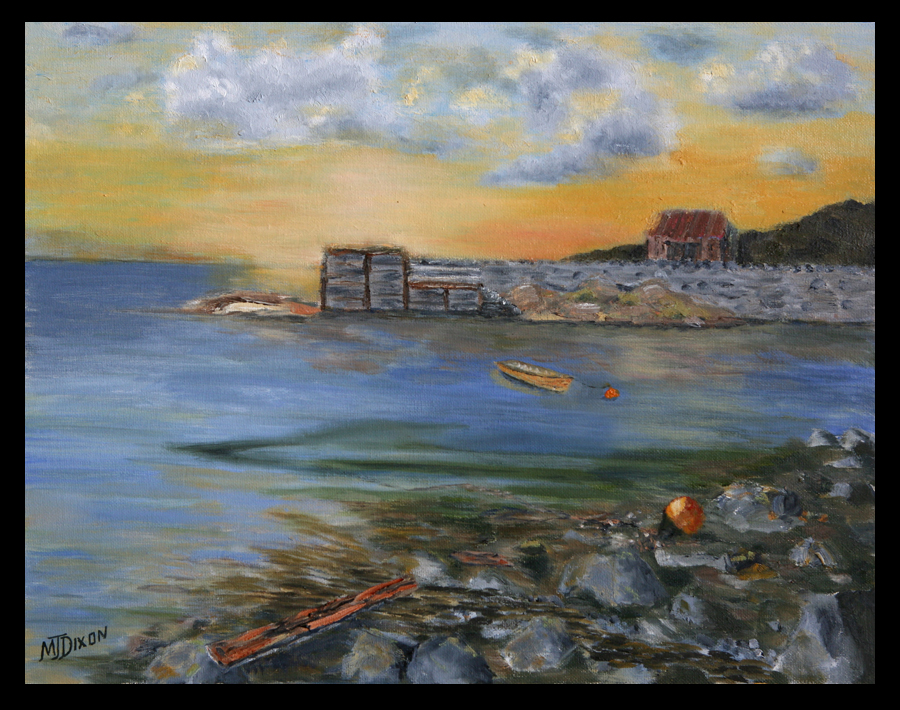
Diabaig’s most excellent Gille Brighde restaurant, shot from the pier on another brisk day. Long before my time, this building was the schoolhouse, when Diabaig was a thriving herring community and there were lots of children. In the 1990s it was used by the local fishfarm and now, as a place to meet and eat, its got a fabulous atmosphere. You have to book very early to get a table in the summer.
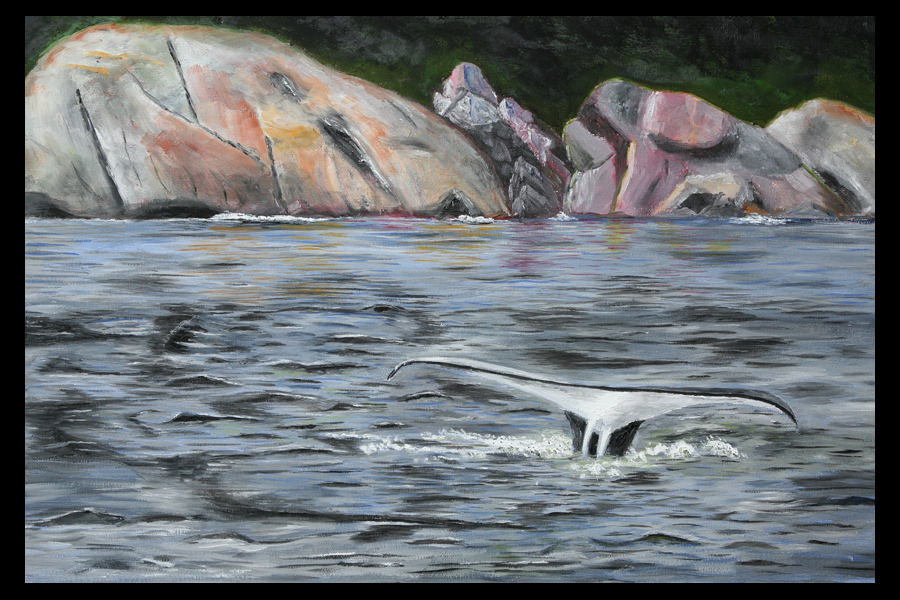
I’ve subdued the waters here. This is the coast of south-west Australia, from the foredeck net of a big catamaran which could ghost along and so get very close. But it was still a long-lens shot and I tried to keep that feeling in the painting, by not adding any detail behind the rocks. The original is not for sale but please email me mike@michaeljdixon.co.uk if you’d like a print (of any size). The water actually looked like this.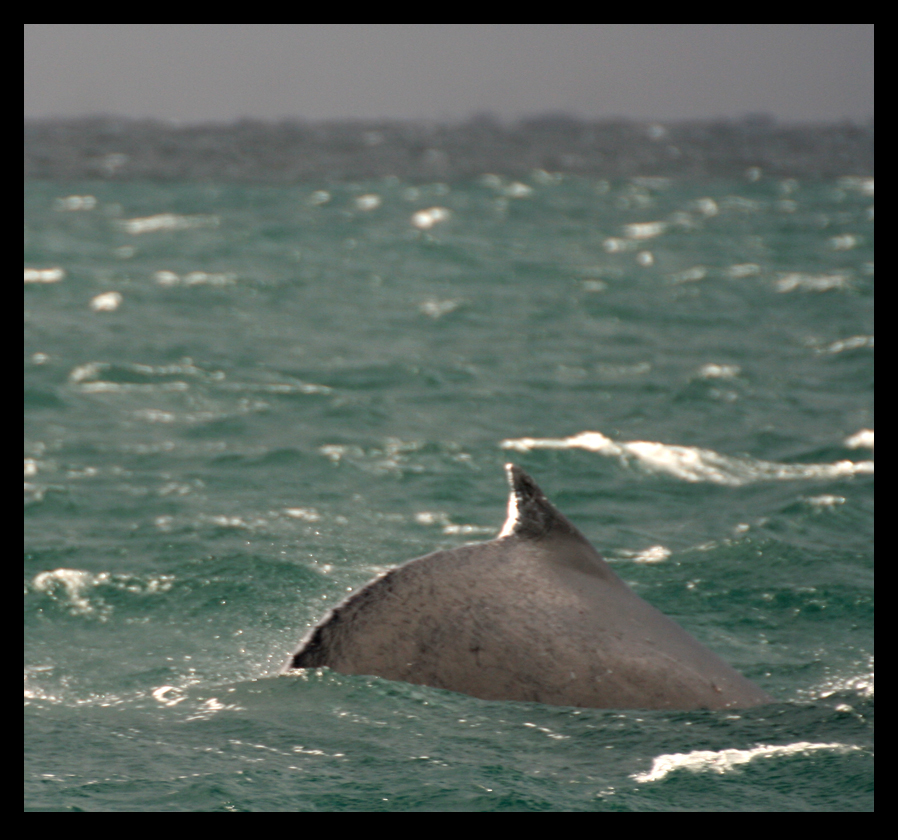
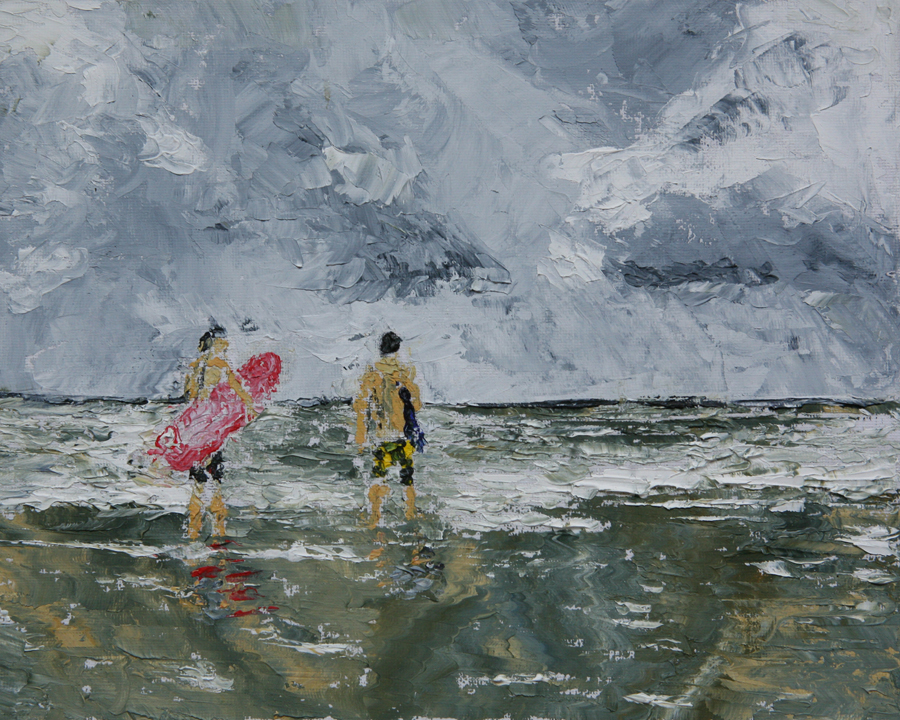
Here’s a different technique; undiluted paint, straight from the tube and applied with a palette knife. It’s on a small board, just 10″ by 8″, and from an old photograph of the Norfolk coast. With this method, you really have to get it right first time, as it all goes muddy if you push the paint around. You can see in the foreground where I’ve picked up several colours with the edge of the knife, and then sort of wiggled it down the beach.
I often crop my paintings after I’ve finished them (if they’re on board rather than canvas). Like many a photograph, they seem punchier if you zoom in and skew a bit. Only I don’t use Photoshop… I use a hacksaw.